Photoshop 101
- Megan Pearce Wright

- Oct 25, 2016
- 3 min read
The first week of university consisted of getting to grips with the fundamentals of Adobe Photoshop and foundational tools and skills need to produce outcomes that would include visually consistent graphics for my social media channel and to construct them in the right formats and size.
1.1: The first task was to take a 'selfie' of our selves and to then create a 1080px square document in RGB with a white background. (This sizing is typically found in Instagram images)
- We then needed to construct a grid (gridline every 90px and 1 subdivision) By using the grid I was able to select the same size square (pixel) every time, as I blurred the selected area.


Black and White (12x12px) Colour (9x9px)
These are both the same image however I wanted to try both effects as I prefer images in black and white. However, in this case, I like how the colour image has produced a variety of shades obscuring the original selfie. I also found, that the use of more pixels produced an image easier to 'decode' compared to that of an image with less pixels as the colours were blurred more due to the most dominant colour within the 1x1px section being selected.
Once completing this task, we then needed to go onto HAW-LIN.com, to pixilate an image off of the website. I chose a cup, as we needed to choose an image with an object within it:


To try and obscure the cup, I cropped the image down, and placed the cup in the right hand corner. I then used a 12x12px grid to obscure the original image and found this worked well because of the variety of shades within the image. But also, by changing the place of the original object, people are less likely to recognise the original image.
1.2: After exploring the use of a grid and selection tool, we were then tasked to produce portrait we would use as our profile image across all our media platforms and social content. To construct this profile I constructed a 1080px square document and placed my selfie onto the new document.
We were allowed to use a grid at a scale of our choice and use elliptical, rectangle, marquee tool and polygonal lasso to select regions of our image.


I chose to use the image to the left as I felt it was 'quirky' and represented me. I had constructed the background earlier using photoshop layers and the elliptical tool (shift and drag to produce a perfect circle) I also new that I was going to cut and section off the image so my expression was not too important to me at the time.
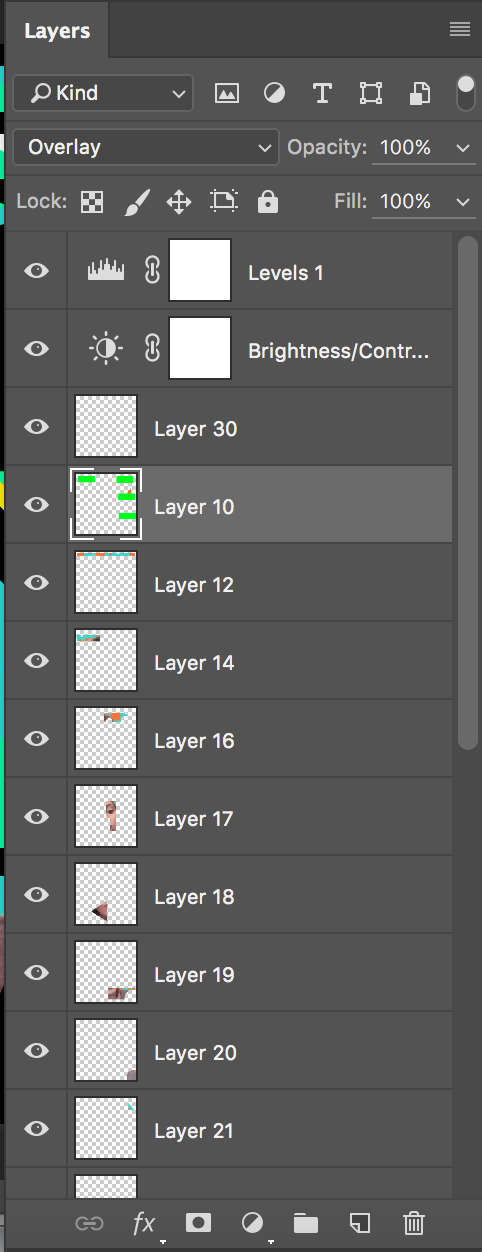
To produce the outcome above I used a multiple of techniques, to create shapes out of the original image I used a variety of the shapes within the selection tools and used the short cut: [command+J] to copy the selected area, and to create a new layer with the selected area. I repeated this process using the polygonal lasso to create triangles and irregular polygons. I then hid the original image. To leave the selected shapes behind. To also created a new layer and paint bucketed making it black as the contrast created a sleeker outcome.

Final profile concept:

To get the final outcome I compressed all the layers within the photoshop file and used the same technique (using the elliptical tool to select a circle) I used this to change the shape of my image as I found that majority of profile frames are circles (WhatsApp, Instagram etc) I also like how I created a different
edge to the image as it can still work as a square image as well as a circle making it multi-purposeful for multi media platforms
1.3: Producing a Youtube banner:
We were tasked with producing a banner using an image off of haw-lin.com. I set up an art board with the dimensions: 2560x1440px. I then placed my chosen image onto another layer and edited the image to my liking. The tools I used were; magnetic lasso, lasso tool, quick mask mode and paintbrush. I created a collage of all the work I produced within the lecture, into this one image. I tried to include all the skills I learnt previously into this one image.
Original Image:

MY BANNER:


Comments